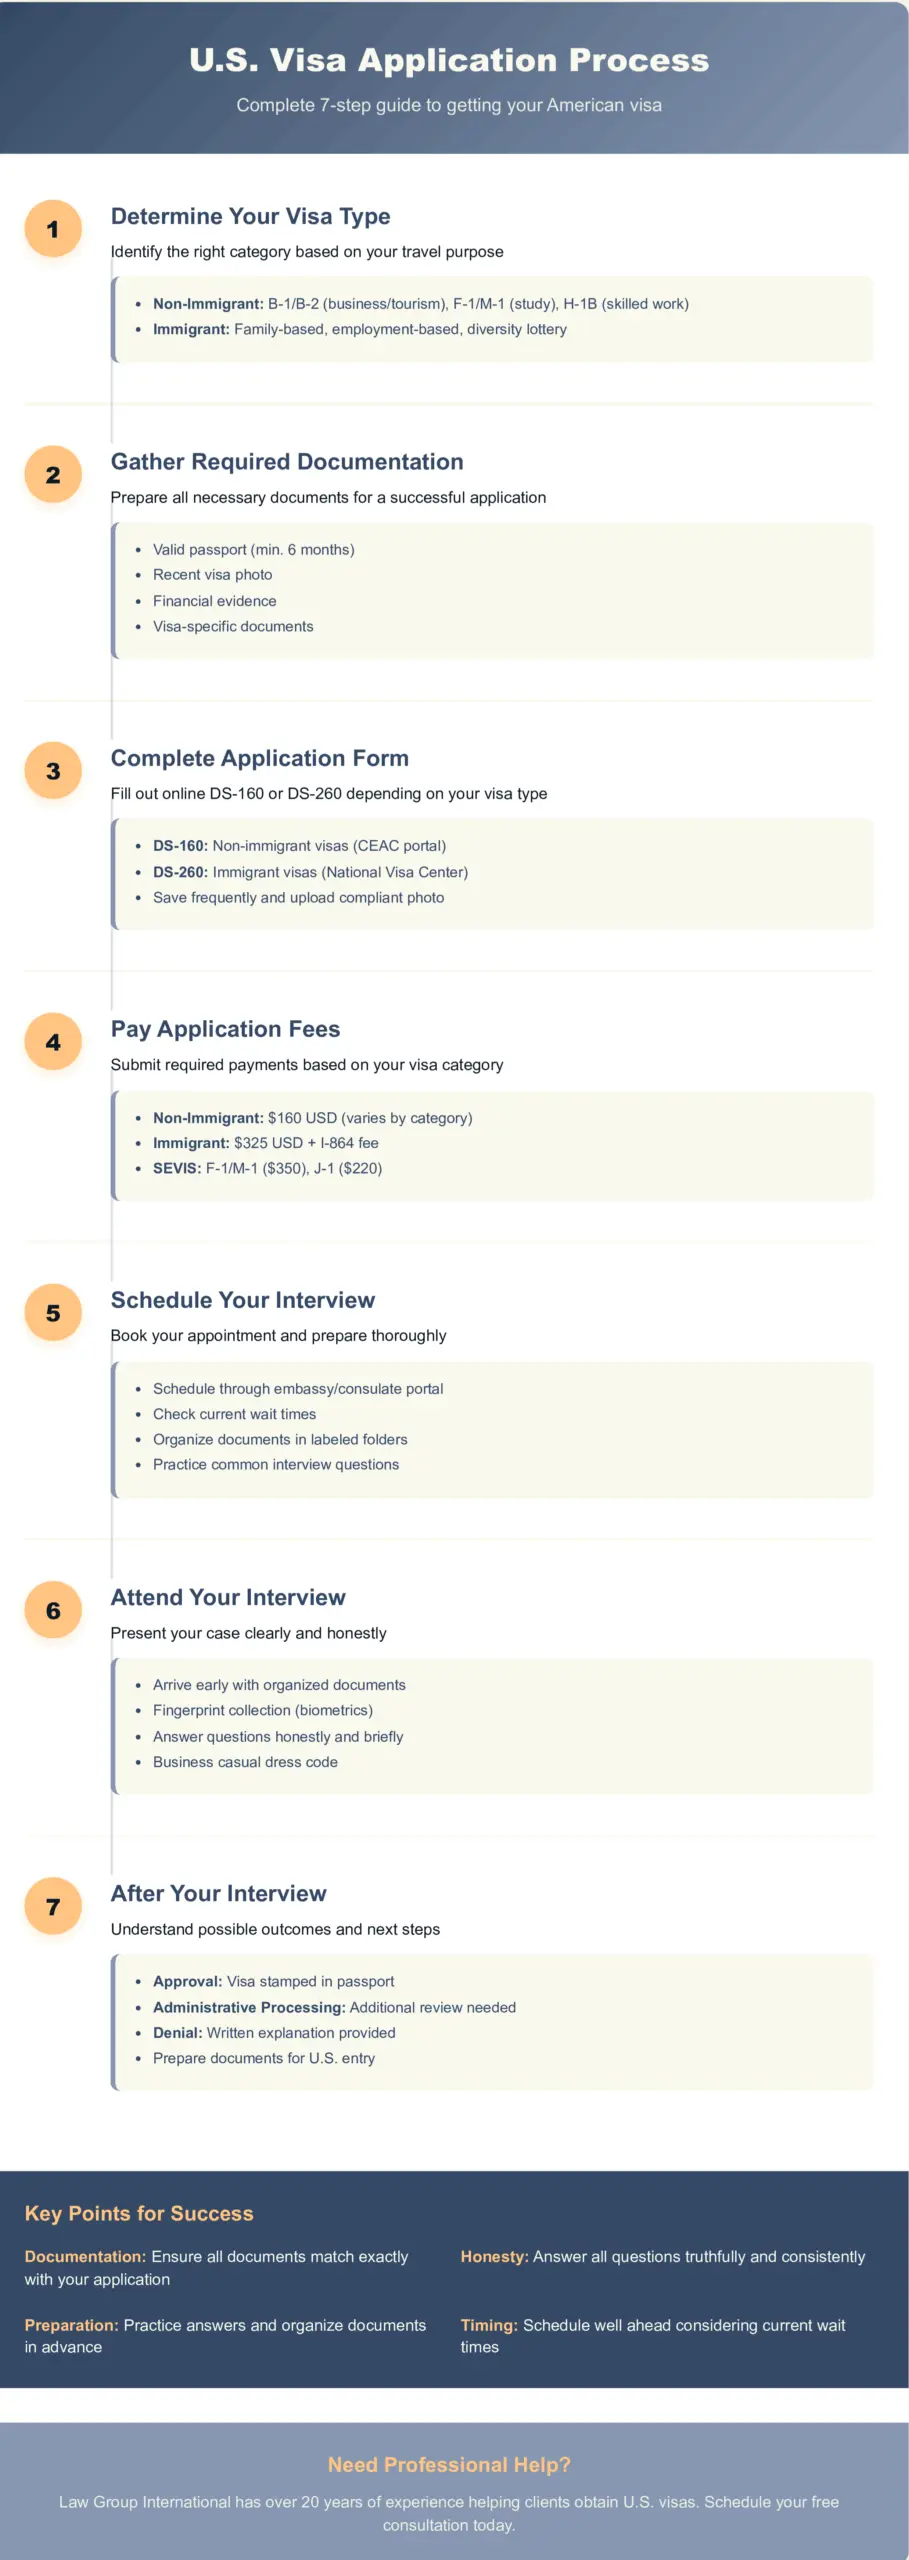
Step-by-Step Guide to Applying for a U.S. Visa
Embarking on a journey to the United States can be the adventure of a lifetime, whether you’re pursuing education, a new job, or the opportunity to reunite with family. But before that journey begins, there’s one crucial step: navigating the U.S. visa application process.
At Law Group International, we understand how overwhelming the visa process can be. With years of experience helping clients from around the world, we’ve developed this practical guide to help you learn how to apply for a U.S. visa in seven clear steps. From selecting the right visa category to preparing for your interview, this article breaks everything down to help you apply with confidence.
Step 1: Determine the Type of Visa You Need
Identifying the Right Visa Category for Your Purpose
- Non-Immigrant Visas are for temporary stays (e.g., tourism, study, short-term work). Common types include:
- B-1/B-2: business or leisure
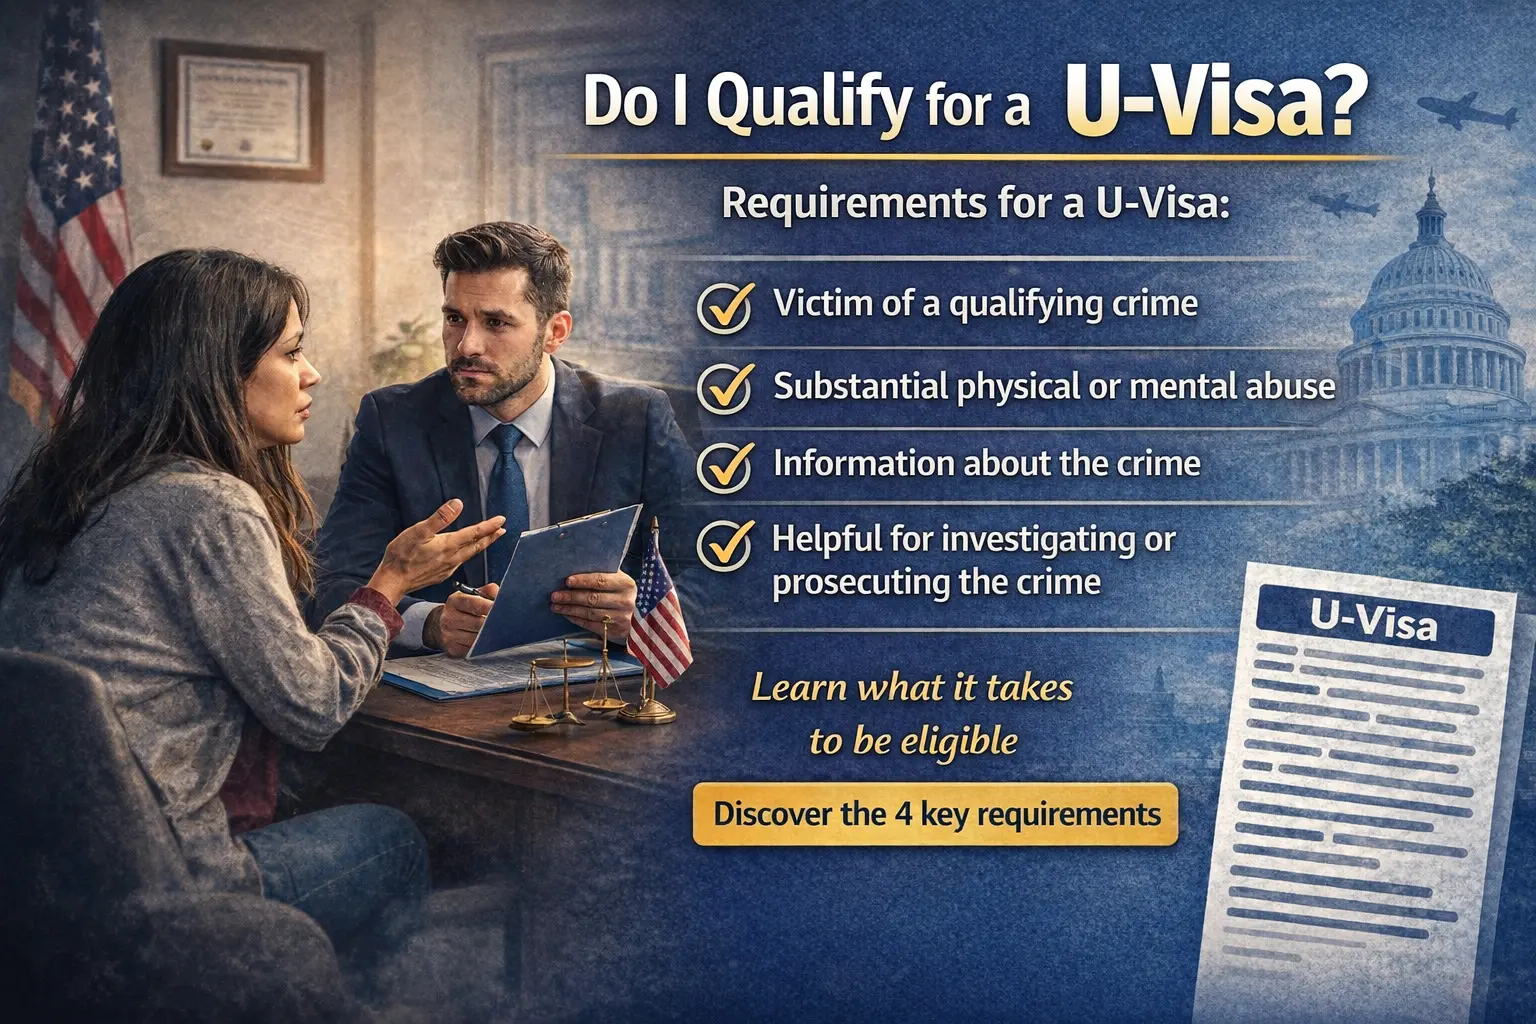
- F-1/M-1: academic or vocational study
- H-1B: skilled employment
- J-1: exchange visitors
- Immigrant Visas are for permanent residence. These include family-based, employment-based, and diversity lottery pathways. Read our guide on Green Card vs. Nonimmigrant Visa.
Review our guide “How to Choose the Right U.S. Visa” to confirm your category.
Step 2: Gather Required Documentation
Preparing Your Documents for a Smooth Application
- General Requirements:
- Passport (valid at least 6 months beyond stay)
- Recent visa photo
- Travel itinerary (if available)
- Financial evidence (bank statements, sponsor letter)
- Proof of home-country ties (job letter, property documents)
- Visa-Specific Documents:
- F-1/M-1: Form I-20, school admission letter
- H-1B: I-129 petition approval (Form I-797), employer letter
- Family-based: Form I-130, Affidavit of Support (I-864)
Create a checklist based on your visa type and track each item in a spreadsheet.
Step 3: Complete the Online Visa Application Form
Filling Out the DS-160 (Non-Immigrant) or DS-260 (Immigrant)
- DS-160:
- Submit via the CEAC portal
- Includes personal details, travel plans, background questions
- Save often; upload compliant photo
- After submission: print confirmation page
- DS-260:
- Submit as instructed by the National Visa Center
- Includes detailed immigration and family history
- After submission: print confirmation page
Ensure your responses match your supporting documents exactly.
Step 4: Pay the Application Fee
Understanding Visa Fees and Payment Methods
- Non-Immigrant (MRV) Fee: Typically $160, varies by category
- Immigrant Visa Processing Fee: Around $325 + Affidavit of Support fee
- SEVIS Fee (F-1/M-1): $350 | (J-1): $220
- Payment methods: online, bank deposit, or local payment centers (depends on country)
Save digital and printed copies of all fee receipts.
Step 5: Schedule and Prepare for Your Visa Interview
Booking Your Appointment and Getting Ready
- Interview Scheduling:
- Non-immigrant: schedule through U.S. embassy/consulate portal
- Immigrant: NVC will guide you on appointment date
- Wait Times: Check embassy websites for estimated timelines
- Documents to Bring:
- Appointment confirmation
- DS-160 or DS-260 confirmation
- All supporting documents
- Interview Preparation:
- Practice answering common questions clearly
- Bring original and copy of all documents
- Be honest and confident in your answers
- Medical Exam (Immigrant only): Must be done with approved physician before interview
Step 6: Attend the Visa Interview
Making a Positive Impression at Your Appointment
- Arrival & Entry:
- Arrive early, bring only required items, pass through security
- Biometrics: Fingerprints will be taken at the window
- Consular Interview:
- Topics: purpose of visit, ties to home country, ability to pay
- Keep answers honest and brief
- Dress Code: Business casual is appropriate
Use labeled folders to organize documents for quick access.
Step 7: After the Interview – Next Steps
Understanding Your Application Outcome and Preparing for Travel
- Approval:
- Your passport stays at the embassy for visa stamping
- Receive via courier in days/weeks
- Administrative Processing:
- May delay final decision; usually resolved in weeks
- Denial:
- You’ll receive a written explanation
- Some cases allow reapplication or waiver
- Final Preparation for Travel:
- Review Form I-94, CBP inspection process
- Pack required entry documents
Plan your arrival around visa validity and U.S. entry regulations.
Let Law Group International Help You Get It Right
Applying for a U.S. visa can feel complex, but with the right preparation and support, it becomes much more manageable. By following these seven steps, from selecting the right visa to preparing for your interview and understanding post-interview steps, you’ll feel more confident and in control.
At Law Group International, we have over 20 years of experience guiding applicants through every stage of the visa process. From students and skilled professionals to investors and families, we help you avoid costly mistakes and move forward with clarity.
Schedule your free visa application review and let our team help you take the next step toward your American dream.